| tags:software selfhosted categories:Linux
Installing Ubuntu 18.04 from Archlinux on APU Board
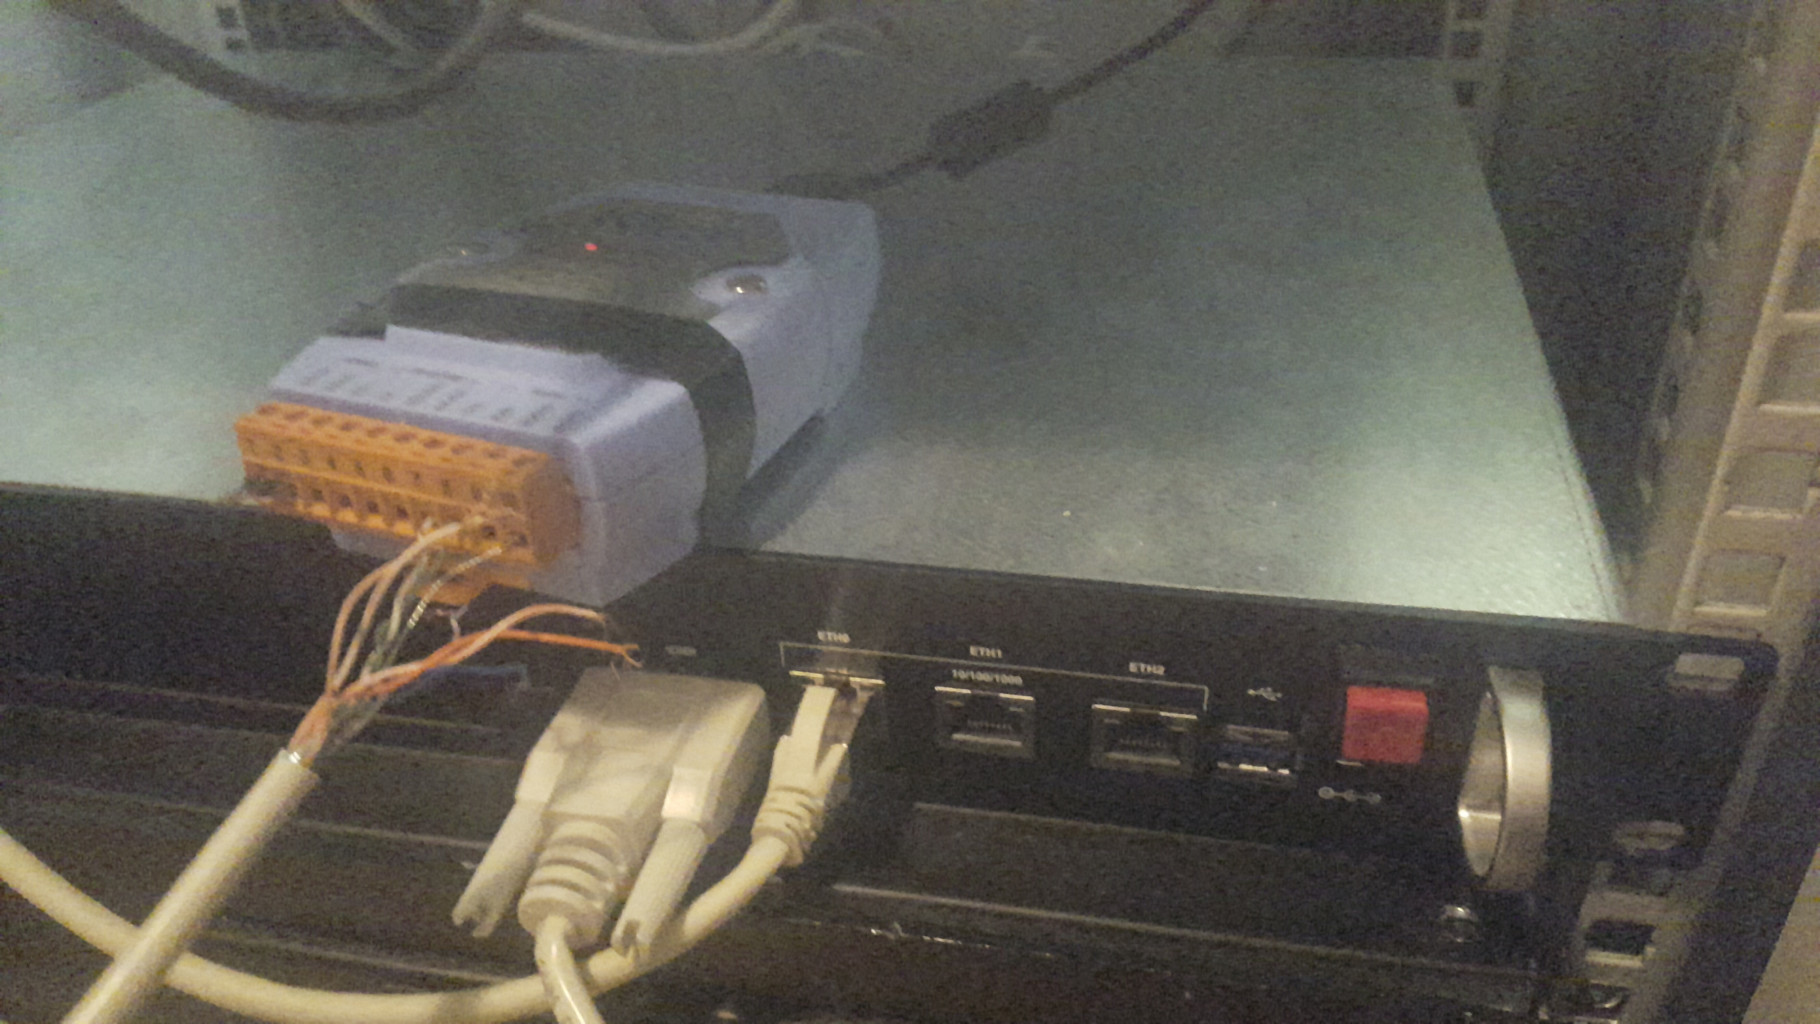
I decided to use my second APU2c4 board as my new Nextcloud/Mailserver. Since this thing should be reliable, especially reboot safe because I have to travel a few hundred kilometers to get hardware access in the datacenter, I decided to use Ubuntu as OS. Sadly the Ubuntu standard installer ISO is not configured to be used only via serial console. Although there are some hints in the web how to change this I never got and Ubuntu USB stick working for installation so I decided to install Ubuntu without its installer (don’t like it anyway) from another livelinux.
Boot Archlinux
To get started a Linux USB stick which can start a live system.
In this example Arch Linux is used,
Debian should work as well.
If the stick is plugged into the APU Board and the serial cable is connected one can use minicom to start the OS
# connect via serial to the APU
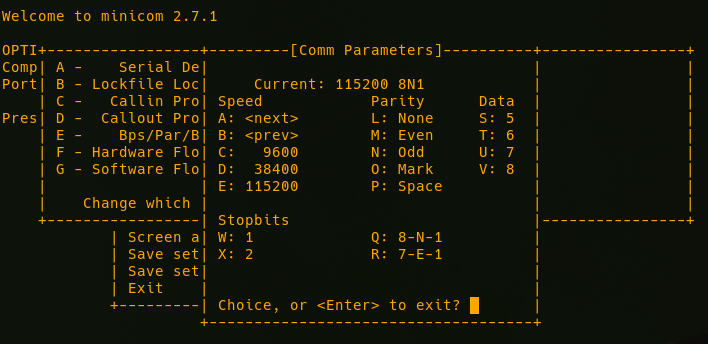
sudo minicom -D /dev/ttyUSB0
Then select a baudrate of 38400 to use the Archlinux bootloader. You can do that in a running minicom with Ctrl+a p d
Afterward select “Boot Archlinux” and press Tab to edit the bootloader line and append console=ttyS0,115200.
Sure you can use every baudrate you want, I use 115200 whenever possible because in the end you use that
serial line more than expected and you’re happy if things don’t take that much time.
Partitioning
Once the livesystem is started we can layout our desired partitions. I use parted for this:
# example
root@archiso:~# parted
GNU Parted 3.2
Using /dev/sdX
Welcome to GNU Parted! Type 'help' to view a list of commands.
(parted) select /dev/sdX
Using /dev/sdX
(parted)
# create a partion table
(parted) mktable msdos
# create a partion
(parted) mkpart primary btrfs 0% 100%
(parted) print
Model: ATA SATA SSD (scsi)
Disk /dev/sda: 16.0GB
Sector size (logical/physical): 512B/512B
Partition Table: msdos
Disk Flags:

Number  Start   End     Size    Type     File system  Flags
 1      1049kB  16.0GB  16.0GB  primary  btrfs
I tried another layout before with GPT partition table and a extra partition for /boot and another one for swap but I always ended up with a corrupt /boot filesystem after I installed the OS so I decided to use just on Btrfs and do everything else in there.
Afterwards we need to create a filesystem, parted doesn’t do that for us even it might be implied. Just use mkfs.btrfs /dev/sdX1 and mount it with mount /dev/sda1 /mnt
Install Ubuntu
To install Ubuntu we need debootstrap, a tool to generate chroots and basic system files. So ensure you got a working internet connection and install it
# install debootstrap
pacman -Sy debootstrap
# use it to generate a ubuntu bionic filesystem in /mnt
debootstrap --components=main,universe --include ssh,vim,systemd,linux-generic,grub2-common,grub-pc,btrfs-progs --arch=amd64 bionic /mnt http://de.archive.ubuntu.com/ubuntu
# chroot to that directory
arch-chroot /mnt
You are now inside your future ubuntu installation! You can start to configure it as you wish. There is to say that I had to add some PATHs:
root@archiso:~# ls
-bash: ls: command not found
root@archiso:~# PATH=$PATH:/sbin:/bin
root@archiso:~# ls /
bin   etc         initrd.img.old  media  proc  sbin      sys  var
boot  home        lib             mnt    root  srv       tmp  vmlinuz
dev   initrd.img  lib64           opt    run   swapfile  usr  vmlinuz.old
This only occurred when I chrooted from Arch to Ubuntu and wasn’t a problem in the final installation of Ubuntu.
Configure Ubuntu
I decided to only do some very basic config in this session because the host will be configured once the Ubuntu can boot by itself.
# configure timezone
dpkg-reconfigure tzdata
# configure locales, sometimes apt need them
localedef -i en_US -c -f UTF-8 en_US.UTF-8
# set a root password
passwd
# (or) add a username
useradd foobar
passwd foobar
# set a hostname, otherwise your ubuntu will get used to the name archiso :-)
hostname
vim /etc/hosts
apt install btrfs-progs
btrfs filesystem label / system
You need to generate a fstab file manually. I recommend using the UUIDs instead of /dev/sdX which can be obtained with lsblk --output name,uuid,type,mountpoint,label or a btrfs label if used. In the end save a file like this to /etc/fstab:
# device-spec               mount-point     fs-type      options                       dump pass
/dev/disk/by-label/system   /               btrfs        rw,relatime,nofail,subvol=/,  0    0
Configure GRUB
Even a basic ubuntu system now exists on the APU, there is still no boot process defined. We install the GRUB Bootloader on our disk by running
grub-install /dev/sdX
and ensure that /boot/grub/i386-pc/btrfs.mod exists. Also have a lookout for vmlinuz and initrd.img in /boot. If somethings missing ensure that linux-image-generic and grub-pc-bin are installed correctly
If your /boot folder looks good edit /etc/default/grub so that your system also uses the serial console
# disable the quiet boot
GRUB_CMDLINE_LINUX_DEFAULT=""
# tell the linux kernel to use the serial for console output
GRUB_CMDLINE_LINUX="console=ttyS0,115200 acpi=off"
# tell grub to use the serial
GRUB_TERMINAL=serial
GRUB_SERIAL_COMMAND="serial --unit=0 --speed=115200"
and run update-grub to update GRUBs config files.
Now your are ready to reboot into your new installed Ubuntu system.